
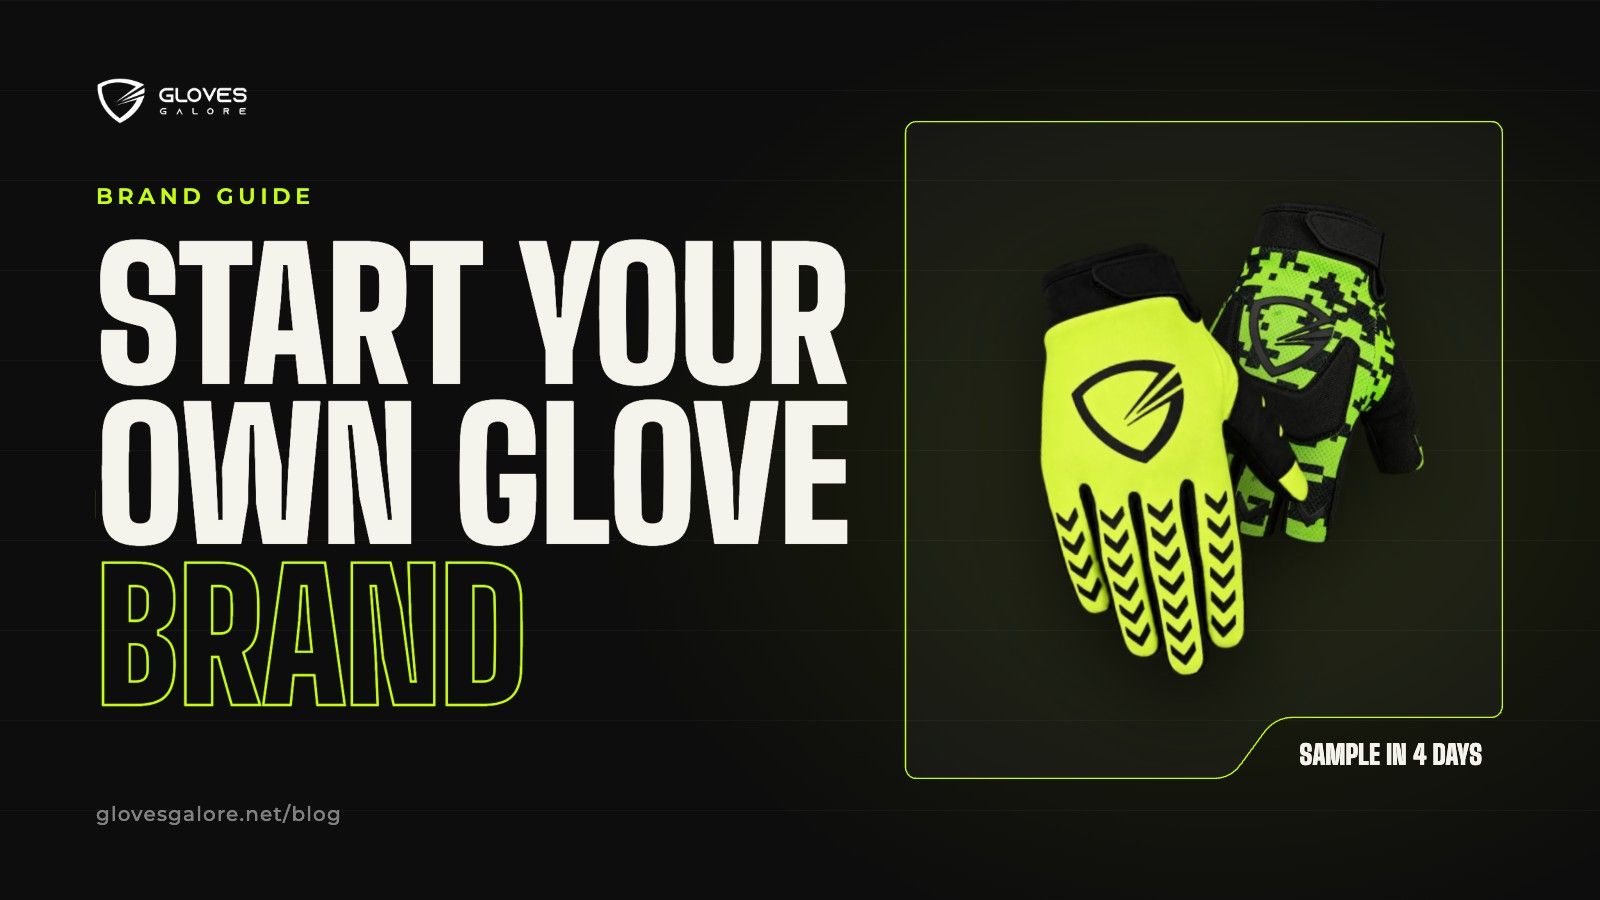
Most cycling glove brands did not start with their own production line or a big budget. They started with a rider who could not find the glove they wanted, or a shop owner who noticed that customers kept asking for the same thing. A glove is a small product, it sells all year in some form, and riders replace them often because palms wear out. That makes it one of the easier pieces of kit to build a brand around.
We make custom MTB, BMX, motocross, gym and ski gloves for brands, teams and shops, and a good part of our work is first runs for people launching their own label. This guide walks through the steps in the order they actually happen, with the questions we see new brands get stuck on.
Step 1: Decide who the glove is for
The most common mistake is trying to make a glove for every rider. A glove that is meant for road, gravel, downhill and winter commuting ends up good at none of them, and it is hard to describe in a way that makes anyone want it.
Pick one rider and one kind of riding first. Trail riders want a thin, full finger glove with a palm that grips the bar when it is wet, while downhill and enduro riders look for knuckle protection and a stronger cuff. BMX riders usually want a slim glove with very little padding so they can feel the bars. On the road, summer riders often prefer a half finger glove with some padding under the palm.
Once you know the rider, most design decisions answer themselves, and your product page almost writes itself too.
Step 2: Work out what makes your glove different
Riders already have dozens of gloves to choose from, so yours needs a clear reason to exist. It does not have to be a new technology. In our experience, new brands win on one of these:
- A look nobody else has. A strong print or colourway is the fastest way to stand out, because riders see a glove before they ever feel it.
- A local identity. Gloves designed around a trail centre, a race series or a city scene sell well inside that community.
- A specific fit. Some riders want a narrower women's fit, a longer cuff, or extra room in the fingers, and big brands rarely make these.
- A shop or club name. A bike shop with loyal customers can sell its own glove at the counter without any advertising at all.
Write your reason down in one sentence before you design anything. If you cannot, the glove is probably not different enough yet.
Step 3: Turn the idea into a design brief
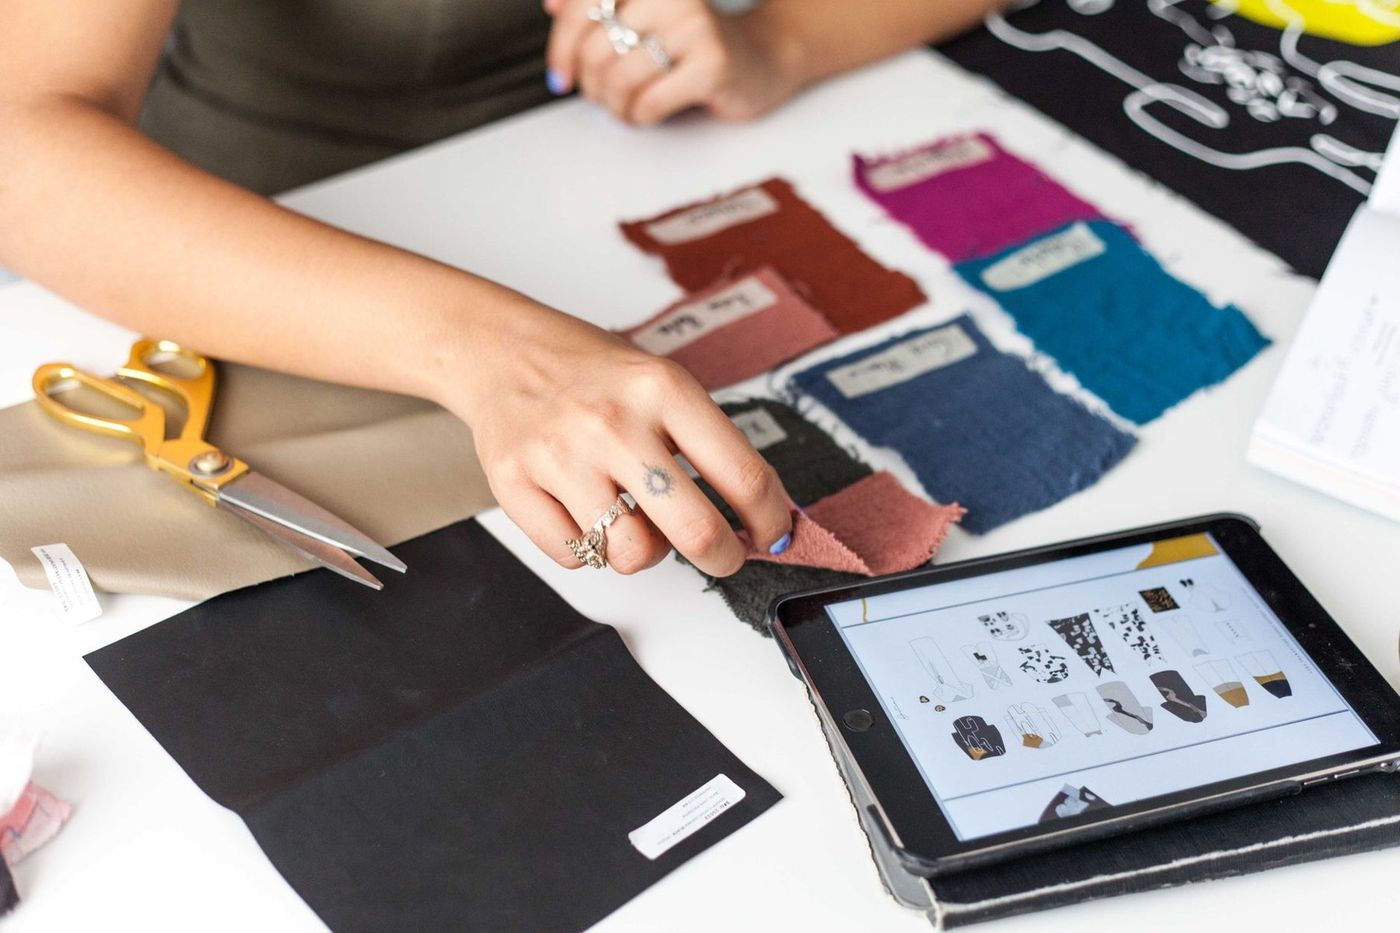
You do not need a full technical drawing to start. A maker needs to know the cut, the materials, the colours and where your logo goes. A useful brief covers these points:
- Cut. Say whether the glove is full finger or half finger, and whether the cuff closes with a Velcro tab or simply slips on.
- Palm. A single layer gives the most bar feel, while a padded palm is kinder on long rides. Most of our gloves use Amara synthetic suede on the palm.
- Back. Stretch Lycra gives a close fit and lets air through, and mesh is cooler in hot weather.
- Protection. The glove can have no protection, light foam, or a moulded knuckle shell like the one on our Armor Pro.
- Branding. Mark where the logo sits, such as the back of the hand, the cuff, the fingers or the palm, and how you want it applied.
- Reference. A photo of a glove you already like helps a lot, and sending the glove itself helps even more.
If you have a designer, a front and back view of the glove with colours marked is enough. If you do not, a sketch and a reference glove work just as well, because we draw up the pattern ourselves and there is no design fee.
Step 4: Choose the right maker
This is the step that decides whether the brand gets off the ground. When you contact makers, ask the same questions to each of them so you can compare the answers:
- What is your minimum order? Many makers ask for several hundred pairs per design, which is a lot of stock for a brand that has not sold anything yet.
- Do you make the whole glove yourselves? Some suppliers pass the work on to other workshops, which makes quality harder to control and slows down every change.
- How long does a sample take, and what does it cost?
- Which branding methods do you offer? Sublimation, screen printing, silicone print and embroidery all suit different designs.
- Can you supply your own hang tags, polybags and boxes with my branding?
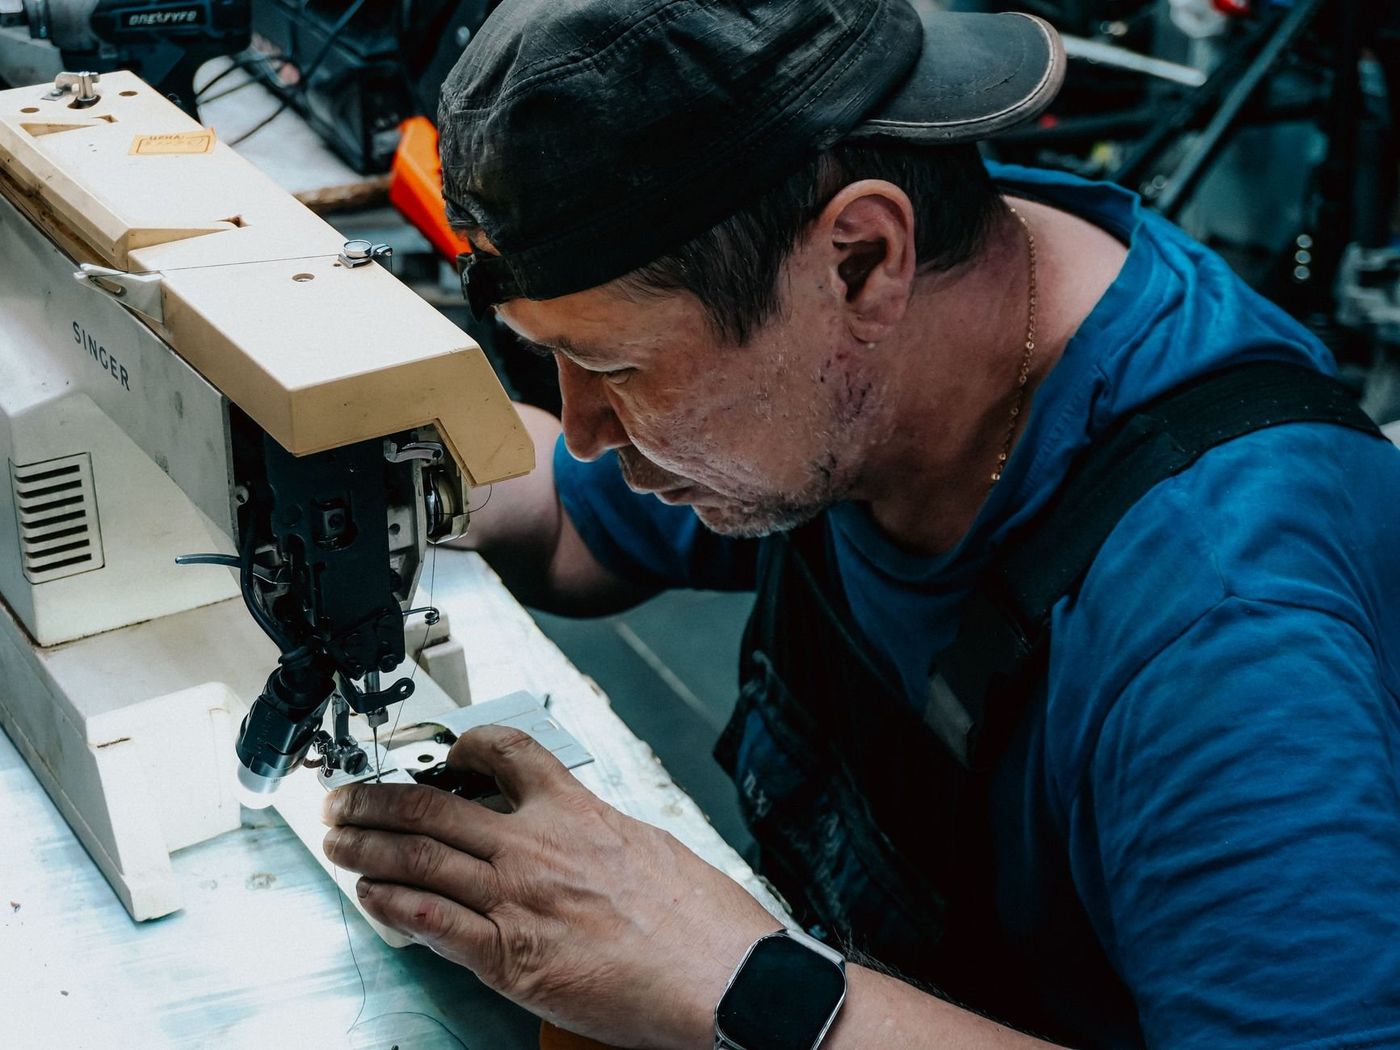
We do the whole glove in our own workshop, from patterns and cutting to stitching, printing, checking and packing, and we do not set a minimum order. You can read more about why we don't have a minimum and what decides the price of custom gloves.
Step 5: Get a sample and test it properly
Never order stock from a photo. A sample is the only way to know how the glove fits, how the palm feels on the bar and whether the colours match your screen.
Wear the sample on real rides, not just around the house. Check that the fingertips are not too long, that the seams do not rub between the fingers, and that the cuff stays closed when you pull the glove on in a hurry. Let two or three other riders with different hand sizes try it as well, because one person's comfort is not proof of a good fit.
Our first sample is free and you pay only the courier. It is made and shipped within 4 days once the design is agreed, and if something needs changing we make another one.
Step 6: Plan your sizes before you order
Sizing is where small brands lose money, because a run with the wrong size split leaves boxes of XL gloves that nobody buys. For an adult cycling glove, the middle sizes usually sell fastest, and the smallest and largest sizes sell slowly.
If you sell through a club or team, collect sizes from the riders before you order and add a few spare pairs in the two most common sizes. If you sell online, publish a clear size chart with the hand measurement for each size, because riders who measure their hand return far fewer gloves. A single order with us can cover youth sizes up to XXL, so you do not need separate runs for different riders.
Step 7: Order a small first run and sell it
Your first run is a test of the market as much as of the glove. Order a quantity you are confident you can sell, then learn from what happens. Watch which sizes and colours sell first, read every review, and ask riders what they would change.
The easiest early sales usually come from people who already know you: your club, your local trails, your shop's customers and your own social media. Good photos of the glove being used on a real bike will do more for you than studio shots on a white background.
When the first run sells through, the second order can be bigger, and that is when the price per pair starts to drop.
Step 8: Think about packaging and presentation
A glove sold in a shop competes with the brands hanging next to it, so presentation matters. A branded hang tag with your logo, the size and a short line about the glove makes it look finished. For online sales, a branded polybag or box makes the unboxing feel like a real brand rather than a generic product. We can pack your gloves with your own tags, polybags and boxes, so they arrive ready to sell.
What to do next
If you have an idea for a glove, send it to us with the kind of riding it is for and roughly how many pairs you have in mind. A sketch, a photo or an old glove you like is enough to start, and a real person will reply to plan the sample with you.


