
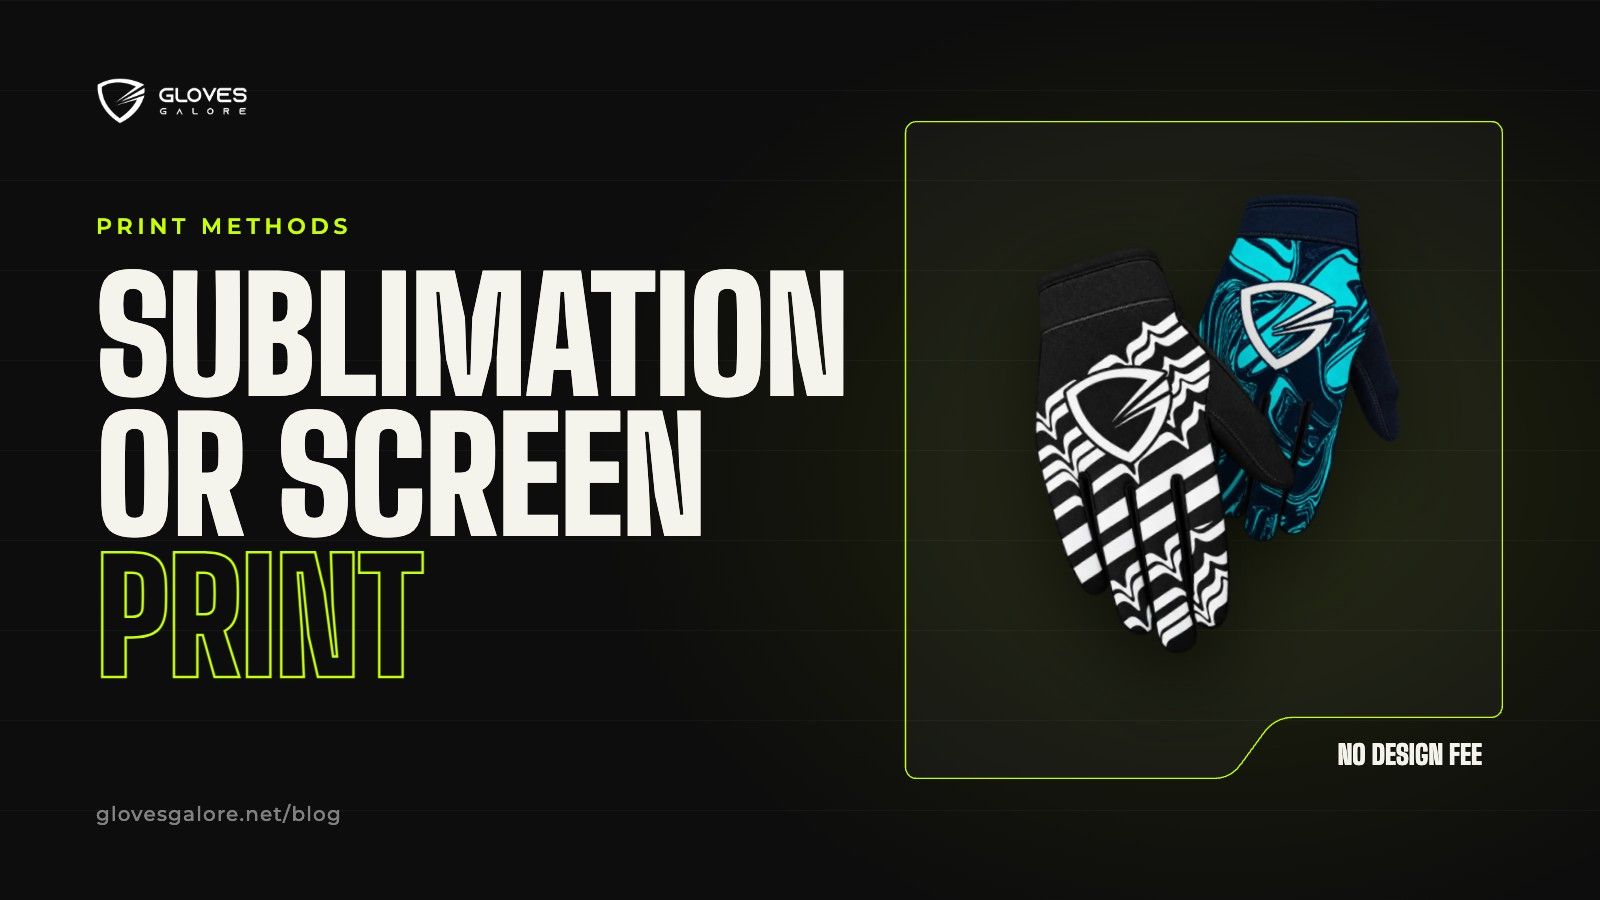
When a brand or team orders custom gloves, the print method is one of the first choices they have to make, and it is often the one they know least about. The method decides what your design can look like, how long it lasts, which fabric it can go on and how the price changes with the number of colours.
We put logos and full designs on MTB, BMX, motocross, gym and ski gloves using sublimation, screen printing, silicone print and embroidery. This guide explains how each one works on a glove and how to pick the right one for your design.
How sublimation works on a glove
Sublimation prints the design onto special paper first. The paper is then pressed onto the fabric with heat, and the ink turns into a gas that bonds with the polyester fibres. Because the ink becomes part of the fabric instead of sitting on top of it, there is nothing to crack or peel, and the glove stays as soft and stretchy as it was before printing.
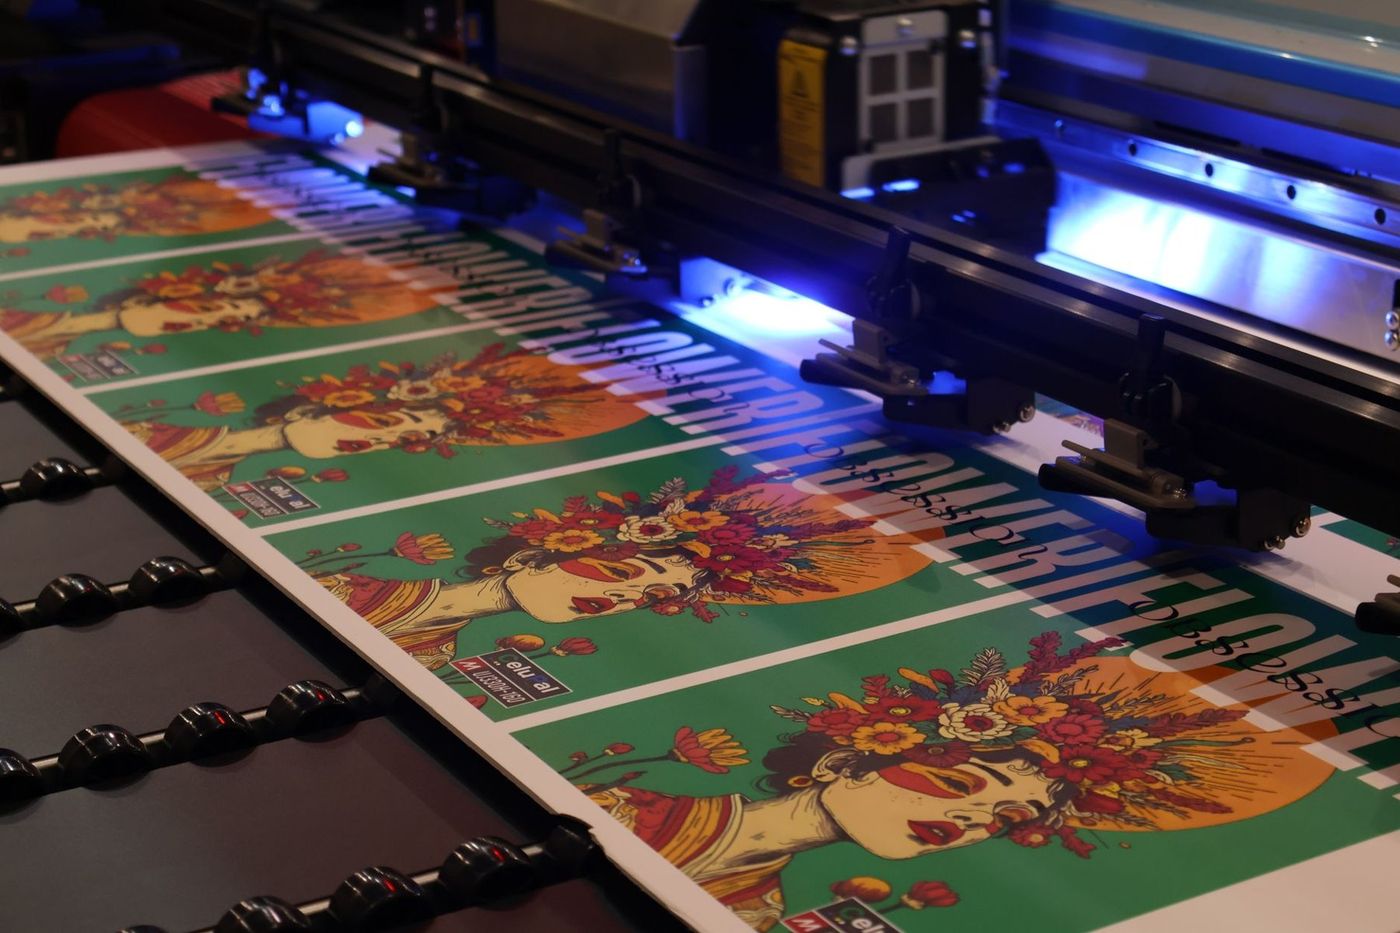
The design is printed before the glove is cut and stitched. That means a sublimated print can run across the whole back of the hand, down the fingers and around the cuff without a break, which is how most motocross gloves get their bold full colour graphics.
Sublimation is the right choice when:
- Your design has many colours or gradients. Every colour prints in one pass, so a design with twelve colours costs no more to set up than one with two.
- You want an all-over print. Camo, patterns, photos and race graphics that cover the whole glove are only practical with sublimation.
- The fabric is light and polyester based. Most stretch backs and mesh panels on sports gloves are made for it.
It has limits as well. Sublimation only works well on polyester-rich fabric with a white or light base, because the ink is transparent and cannot cover a dark colour underneath. You cannot sublimate a white logo onto a black fabric, for example, so a dark glove with a light logo needs a different method.
How screen printing works on a glove
Screen printing pushes thick ink through a fine mesh screen onto the fabric. Each colour in the design needs its own screen, and the colours are printed one after another. The ink sits on top of the fabric as a thin layer, which makes the colours solid and sharp.
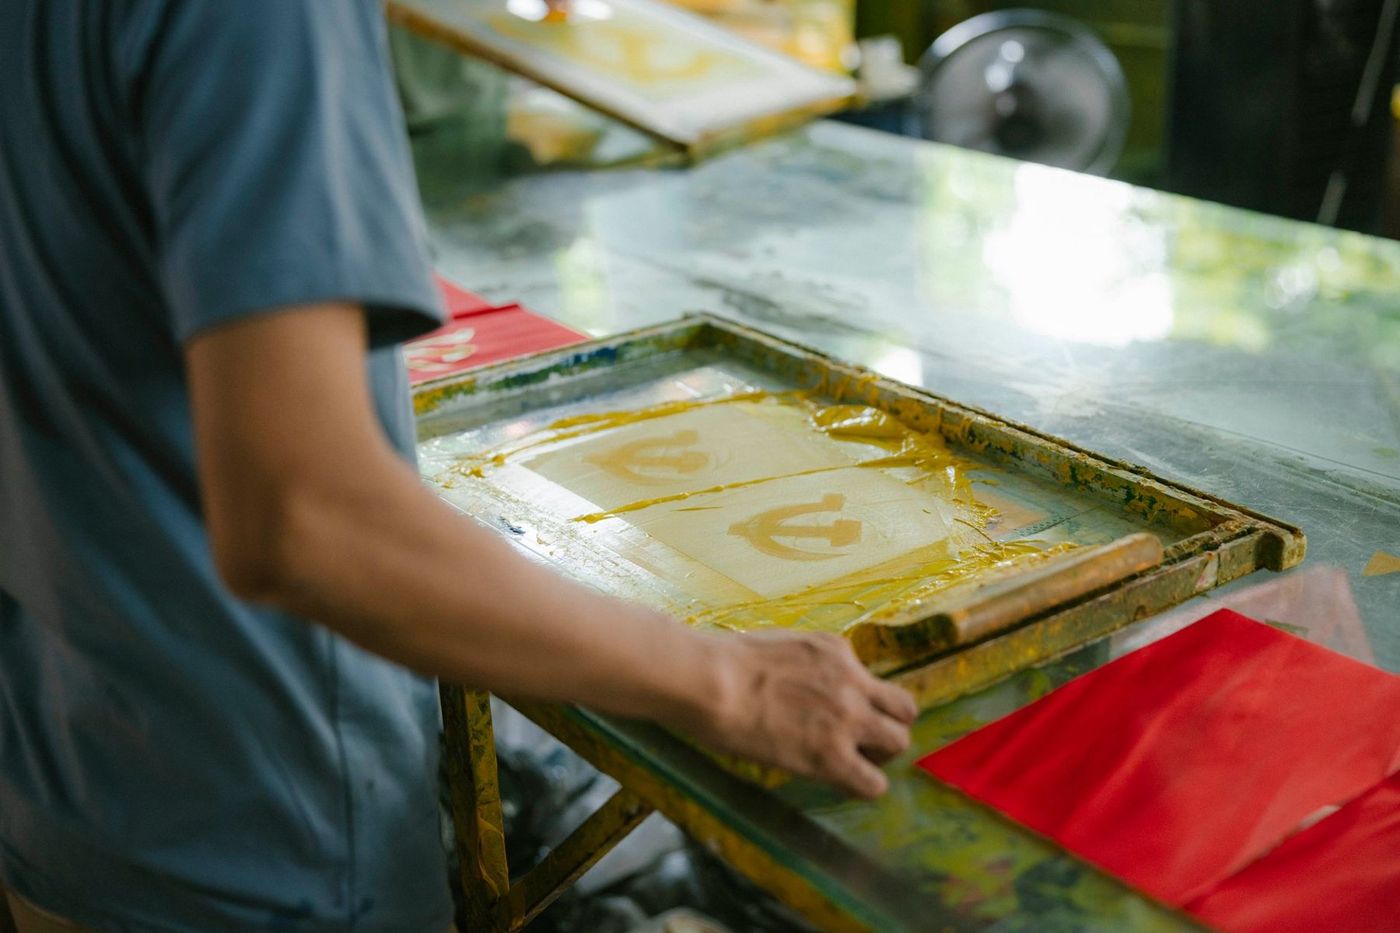
Screen printing is usually done on the cut panels before the glove is stitched, so the logo lands exactly where the pattern says it should.
Screen printing is the right choice when:
- Your logo has one or two flat colours. A simple logo or wordmark looks crisp and clean.
- The glove is dark and the logo is light. Screen ink covers a black or navy fabric properly, which sublimation cannot do.
- You want the logo to stand out. The slight thickness of the ink gives a logo a solid look that catches the light.
The trade-offs are cost and stretch. Every extra colour needs another screen and another pass, so a design with many colours becomes expensive to set up on a short run. And because the ink sits on top of a stretch fabric, a large printed area on a part of the glove that flexes a lot, such as the knuckles, can crack over time. That is why a screen printed logo is best kept to areas that do not bend much, like the back of the hand and the cuff.
Silicone print and embroidery
Two other methods are worth knowing, because they solve problems the first two cannot.
Silicone print is a raised, rubbery print. On the palm and the fingers it is used as grip, often in the shape of a pattern or a small logo, so the glove holds the bar or the brake lever better. On the back or the cuff it gives a logo a 3D feel. It is a good way to put your brand name on the palm, where riders see it every time they open their hand.
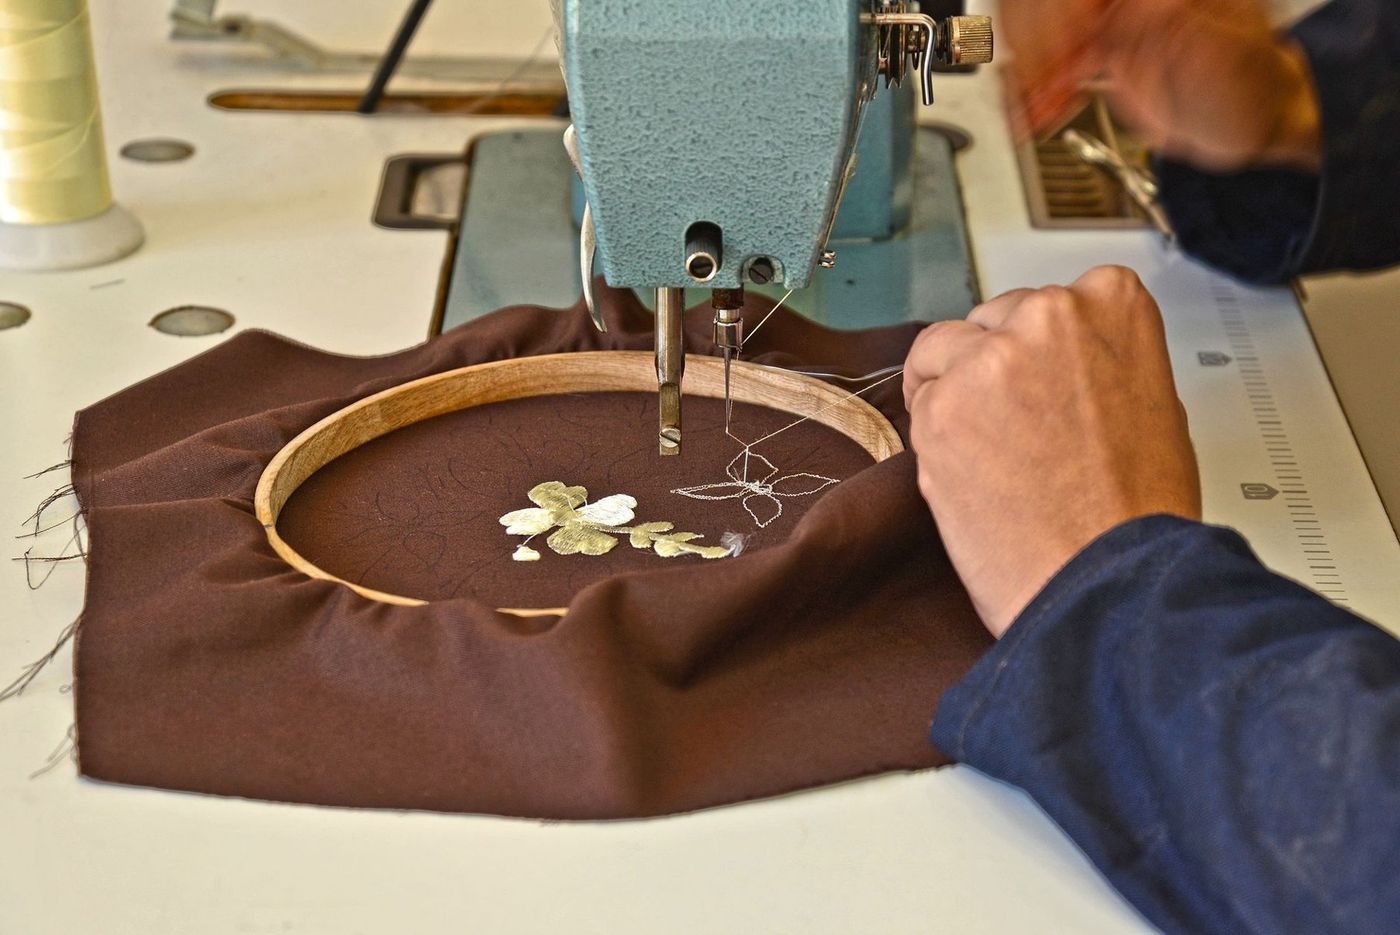
Embroidery stitches the logo with thread. It looks premium and lasts as long as the glove, so it suits the Velcro tab and the cuff of a gym or ski glove well. It is not a good fit for thin stretch fabric or very small detailed logos, because the stitching can pucker the fabric and fine lines get lost.
Which method should you choose?
Many custom gloves use more than one method. A typical motocross glove might have a sublimated back, a silicone logo on the palm and an embroidered or screen printed logo on the cuff tab. These simple questions will tell you where to start.
- Does the design cover the whole glove or use many colours? Choose sublimation.
- Is it a simple logo on a dark glove? Choose screen printing.
- Do you want grip, or a logo on the palm? Choose silicone print.
- Is it a gym or ski glove that should feel premium? Embroider the logo on the cuff or the tab.
If you are not sure, send us the design and tell us what the glove is for. We will tell you which method suits it, and you will see the result on the free sample before any order is made.
How the print method affects price
The print method is one of the things that moves the price of a custom glove, together with the quantity, the palm material, the protection and the packaging. Sublimation costs about the same however many colours you use, so it is good value for detailed designs. Screen printing gets more expensive with every colour you add, but for a single colour logo it is a simple and economical choice. We explain the other factors in what decides the price of custom gloves.
Getting your design onto a glove
You do not need print-ready files to start. A logo file, a sketch or a photo of a glove you like is enough, and we lay the design onto the glove pattern ourselves without a design fee. You can see full colour designs like Zebra Strike and Toxic Pixel in our range, or send us your own design and we will make a sample of it.


